
Patterning
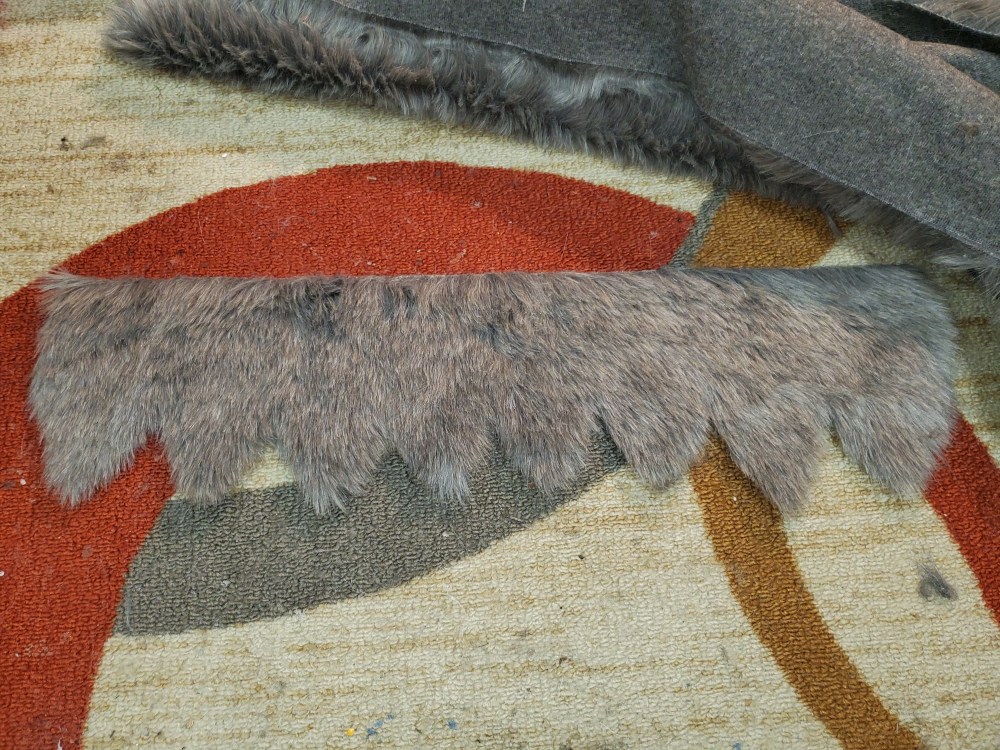
The way I pattern costumes for adding fur or skin is quite different than most use (which is the duct tape method). I use felt to make a sort of cover for whatever piece I’m working on, cut as needed (for darts) and then trace that pattern onto the fur backing. This may make more sense with pictures:


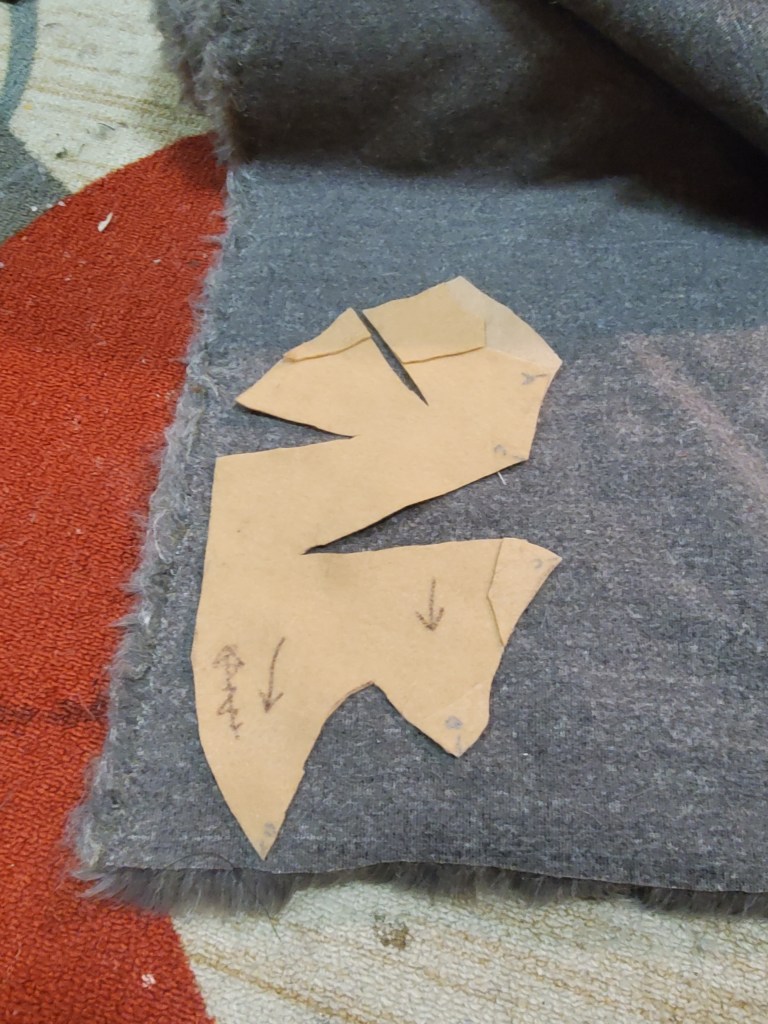
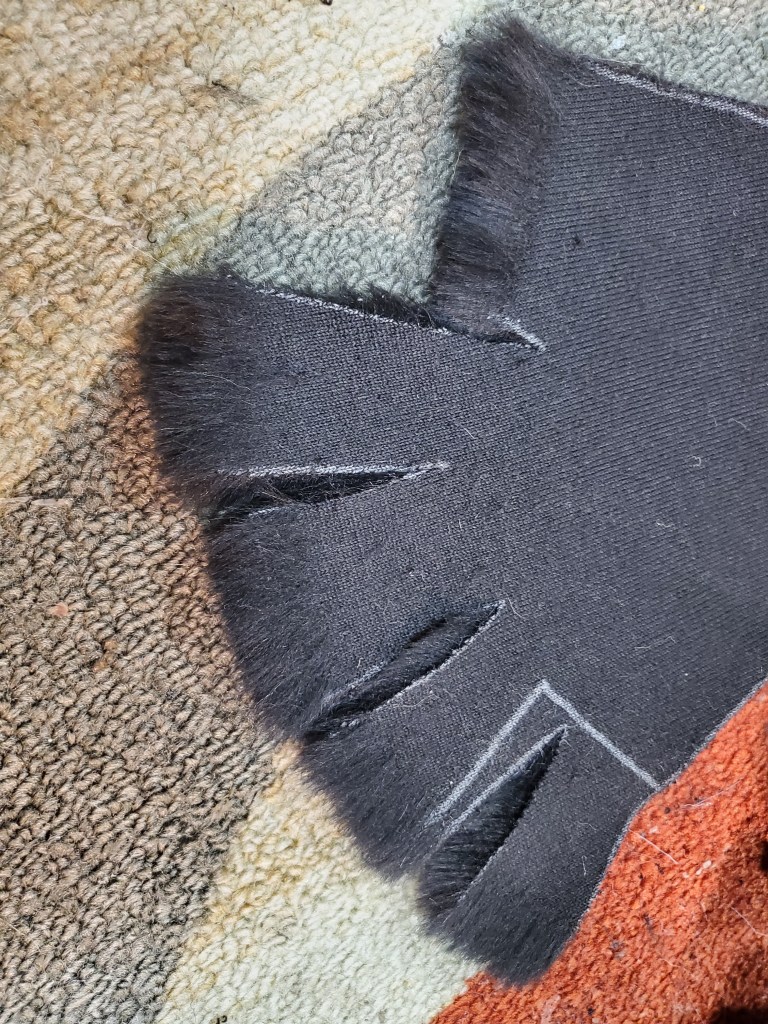


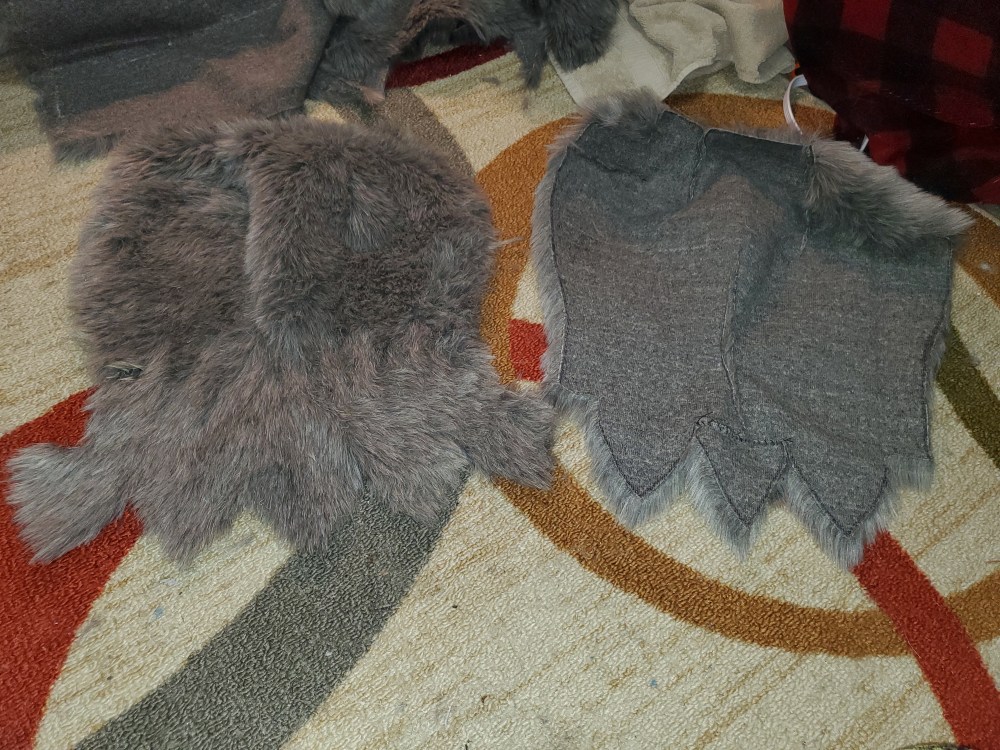
I use arrows to remember the direction of the nap required for the piece, and often I will mark points with A, B, C, etc, so when I’m sewing I know where to attach and match up each piece.
I used this method for the entirety of the costume except for the bodysuit, which I was able to just take measurements of myself (since there is no real major padding except a tiny bit in the crotch) and sew together as would be the process of a normal, unpadded bodysuit, seen below:
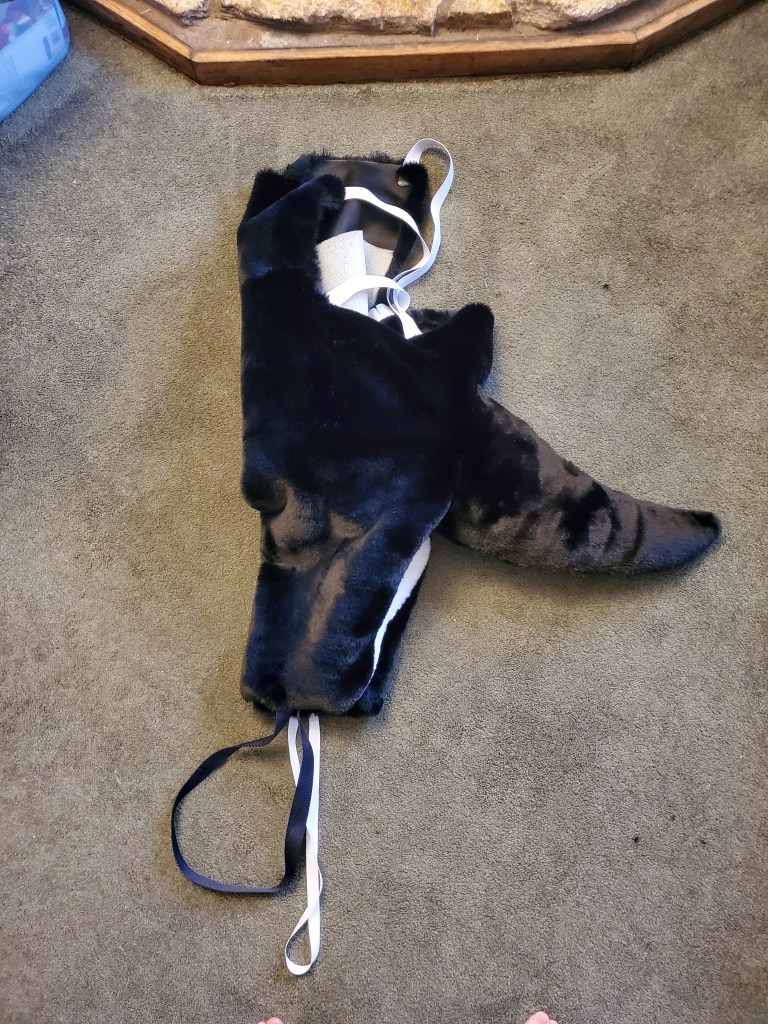

The elastic in the back and over the shoulders is just to help hold the suit on, as I didn’t want the entire back to be covered in fur when the vest is already going over it, for cooling reasons. The straps at the bottom act as stirrups to keep the legs down inside of the “boots” when I put them on. The tail is sewn directly onto the bodysuit, as no real partial-use can exist for this costume.
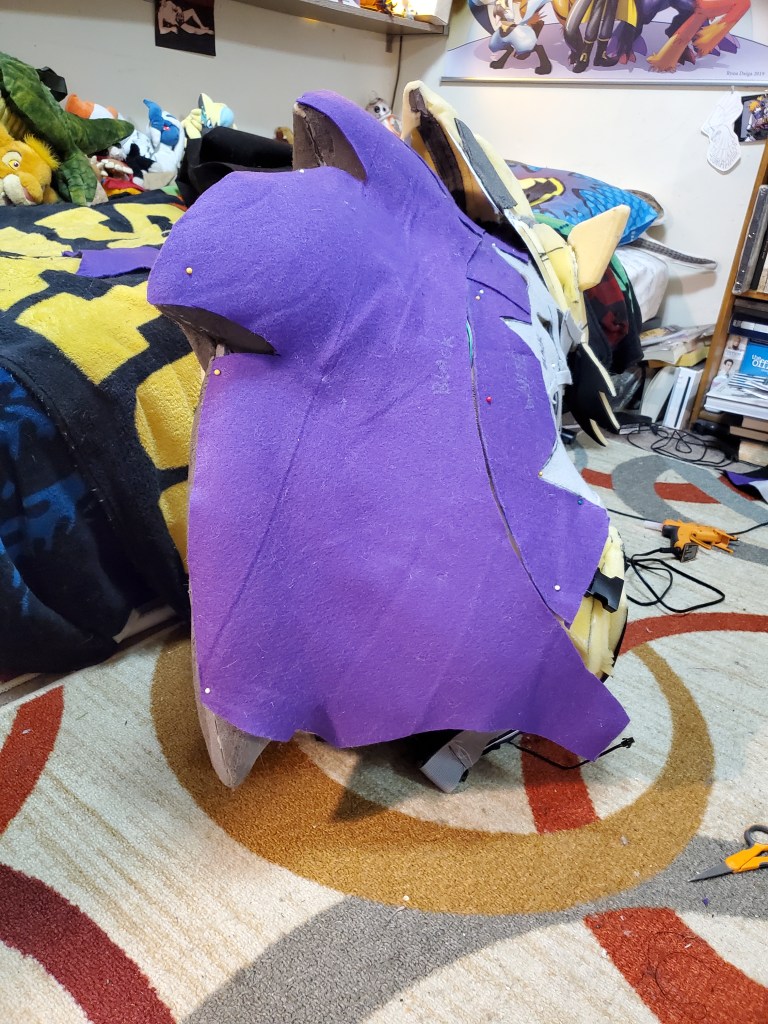
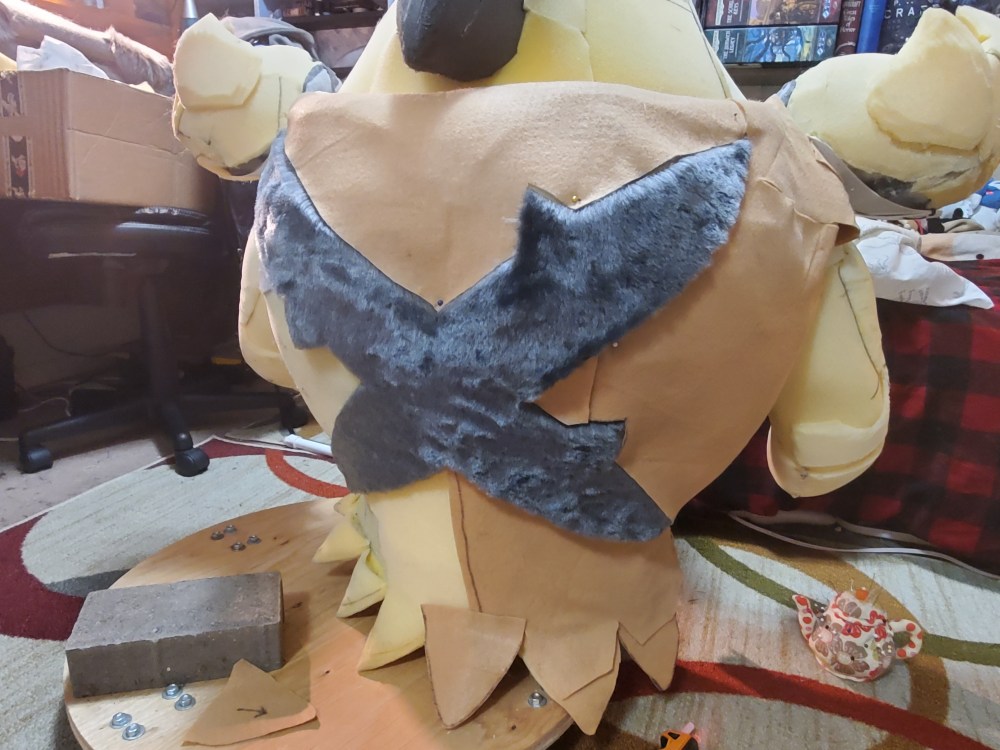
Once all was patterned, traced, and cut out, it was time to sew! (Just sharing the vest and neck here to save some space; all pieces were hand sewn with machine reinforcement in some places).


Now, before I place the fur onto the neck, I need to cover the diamond openings with white buckram, so I slapped a piece of it on there (after painting the back black for glare reduction; I painted the backing black first and then repainted the front white because there was bleed due to the openings).
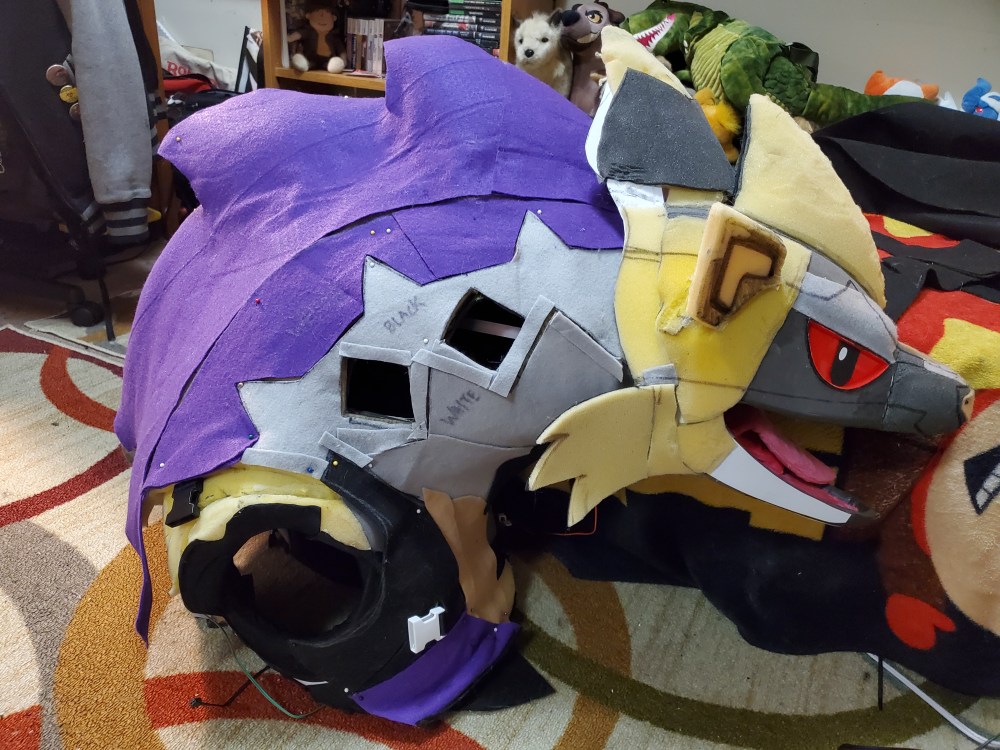
Here are some WIPs of me applying the fur skins to the neck and head!
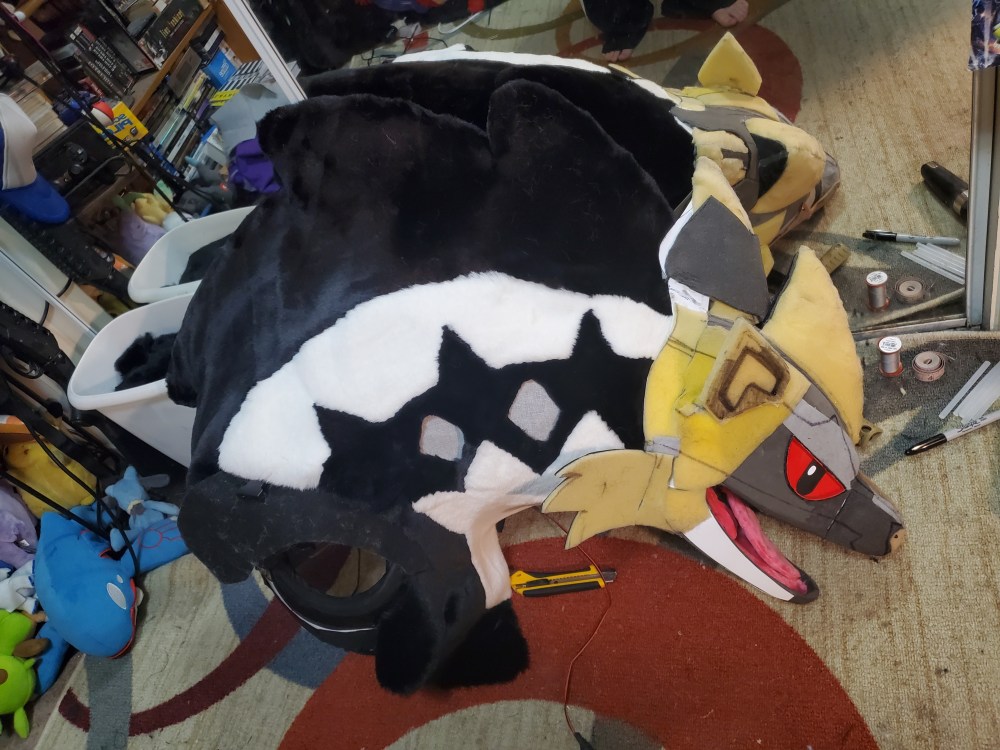

I should also mention here that that seam between the black mane and white part of the neck does contain a zipper for accessing inside the neck (invisible zipper!). The nose will come later as a piece of EVA foam stuck to the front. For now, it’s time to start securing the fur to the foam in key places and refining some bits like around the mouth, etc. After that’s complete, I can add the teeth, which will be cut pieces of styrene, and add the scars around his left eye.
Deadline
I will say, at this point I reached the end of my deadline, and was forced to work on some of the final touches such as sewing some things down and adding the teeth/scars at the hotel room for our convention (SacAnime), so I don’t have pictures of these as I was quite rushed and didn’t think about it. So for the next post, I will be adding post-completion pictures, as well as sharing my con photos, where I’m considering his debut a test run due to him still requiring some tweaks (but it went very well!). So stay tuned for the final log post for this project! I will also be making an overview video of the suit for a more in-depth look at all the pieces.
As always, feel free to leave me question or comments!
