
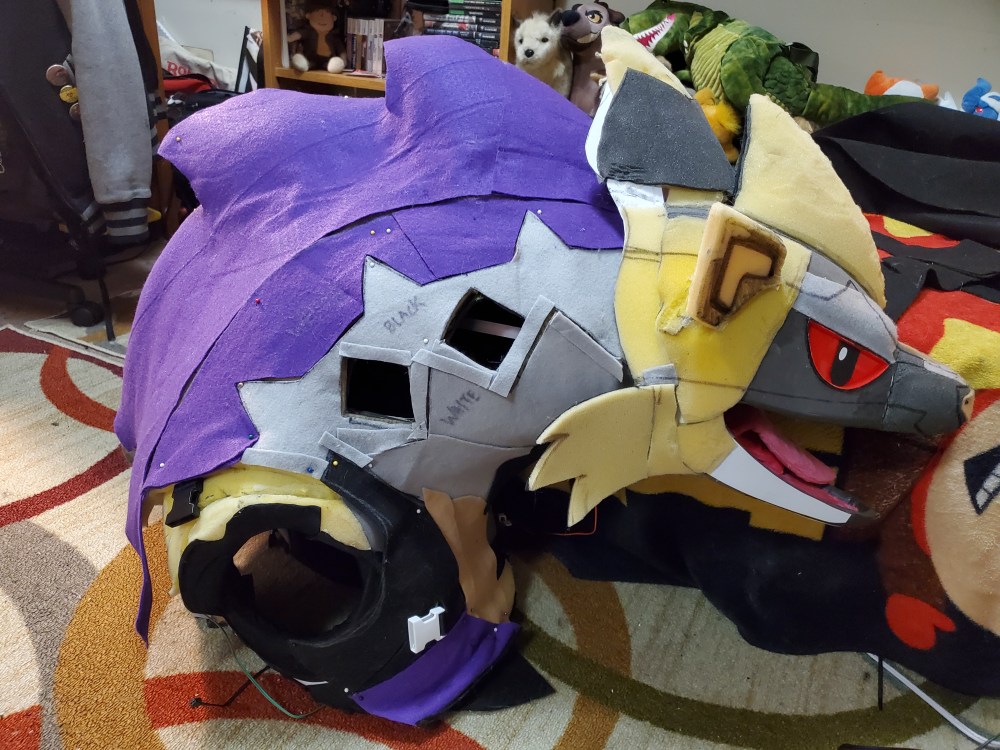
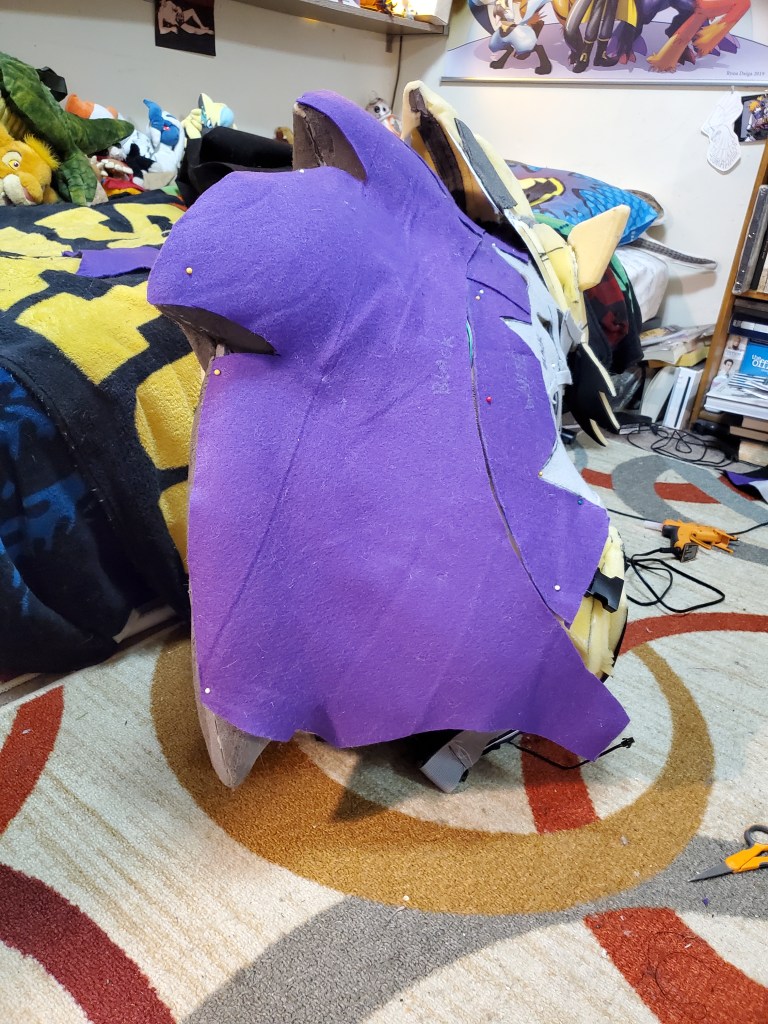
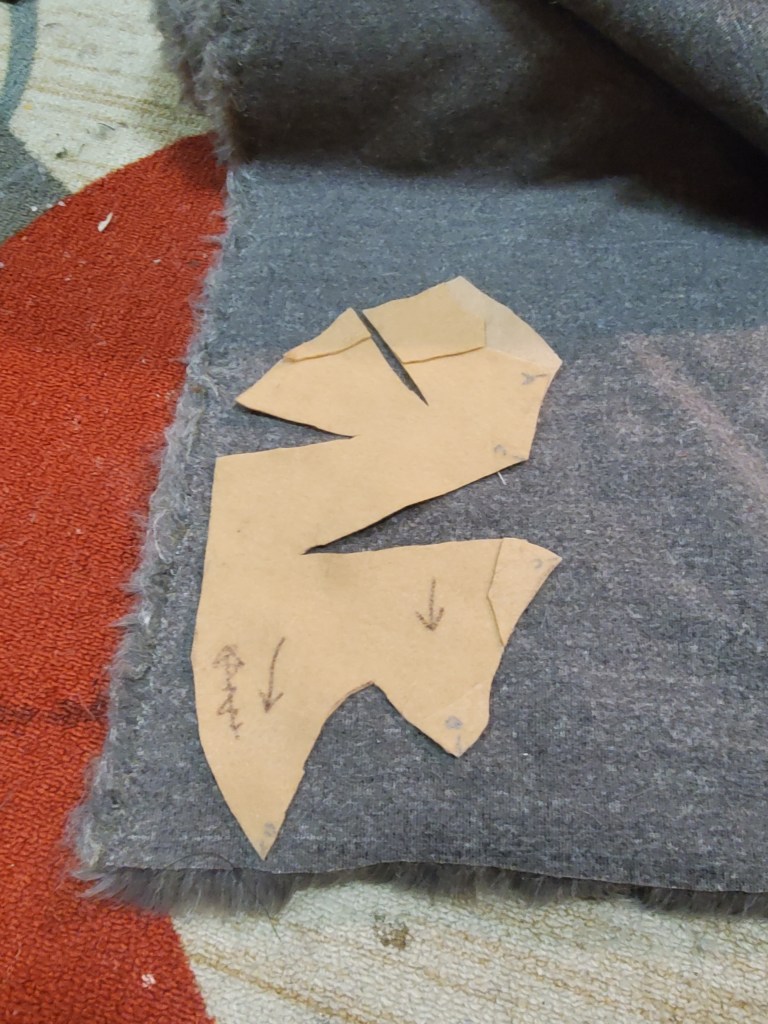
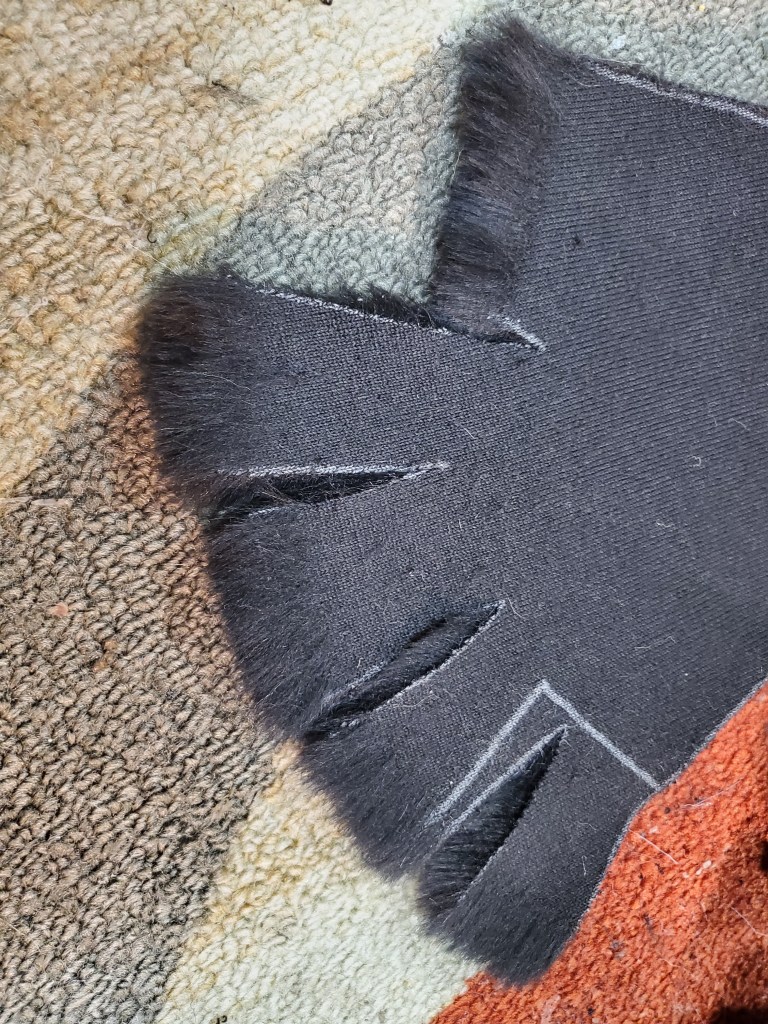
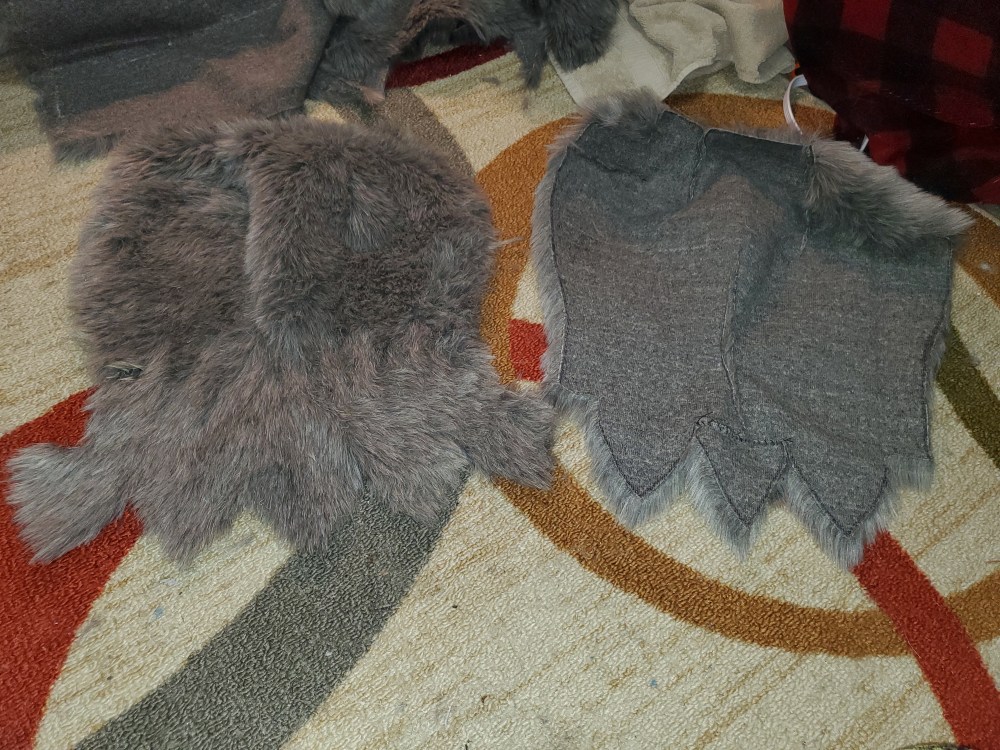
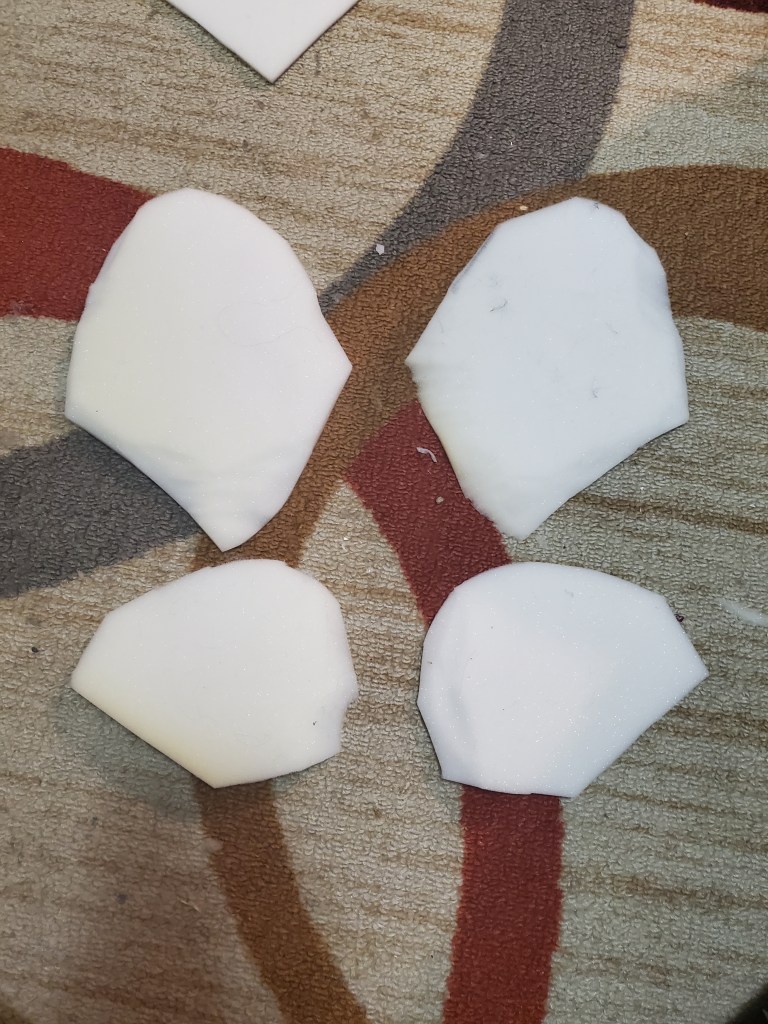
Patterning
The way I pattern costumes for adding fur or skin is quite different than most use (which is the duct tape method). I use felt to make a sort of cover for whatever piece I’m working on, cut as needed (for darts) and then trace that pattern onto the fur backing. This may make more sense with pictures:


Note: I actually swapped between working on the feet and hands (the last post), and the vest, but for the sake of having an organized log, I’m writing these next two posts as if I just worked on them straight through to finish, when in reality, I got a little done on the hands, swapped to the vest for a while, then swapped to the feet, then back to the hands, etc. I just preferred these logs to be more of a work summary than an actual daily or weekly work log, which would get really tedious.
So far I’ve gotten a lot done on this suit, but there’s still a lot more to go! This post is going to go over how I made the grey body vest and the bulky upper arms. I’m going to mix this post up a bit by adding a video to it to go over things instead of writing it all out, because at the moment I’m rather short on time and a little behind at logging stuff (as well as having forgotten to take some WIP of some things…) So a video works a bit better in this case 🙂
The Vest
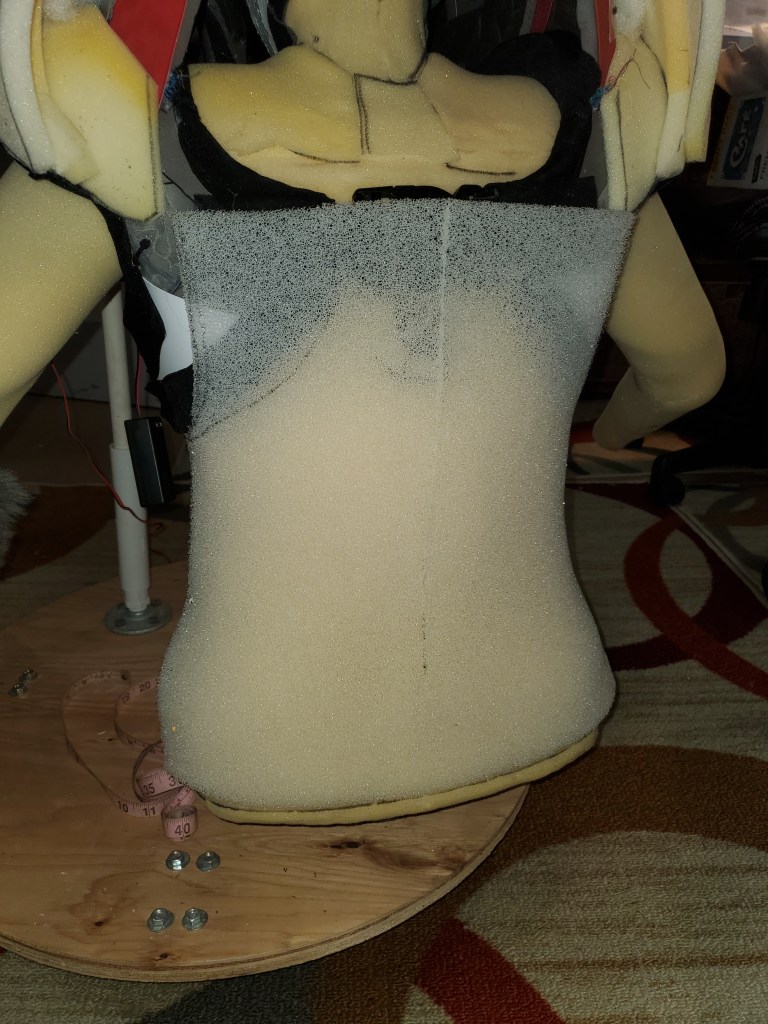
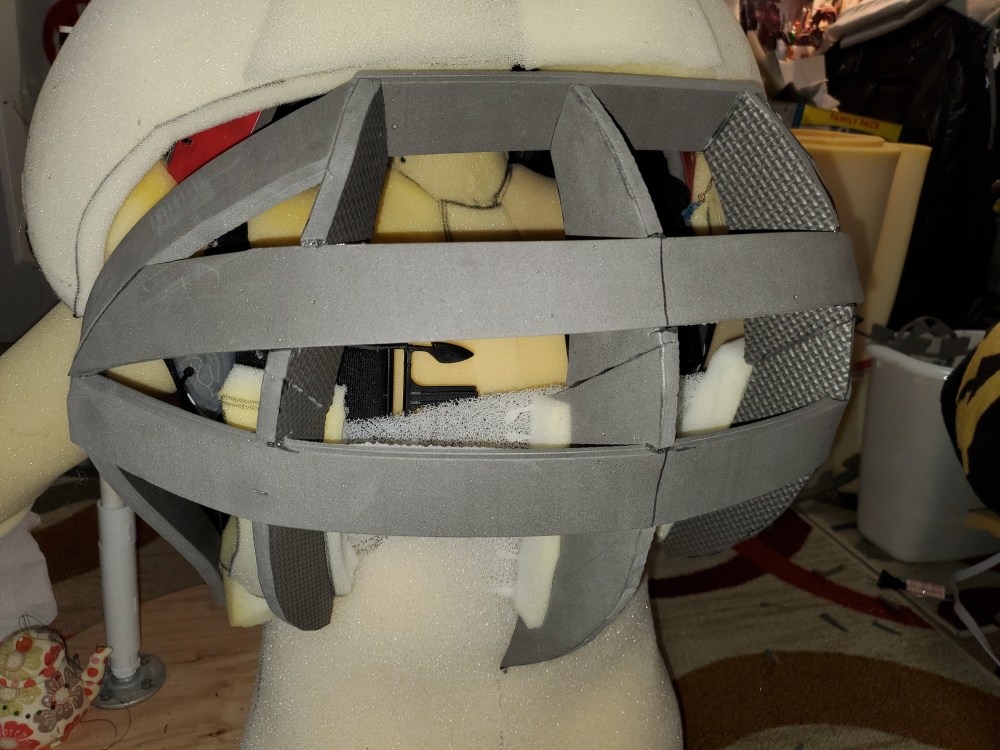
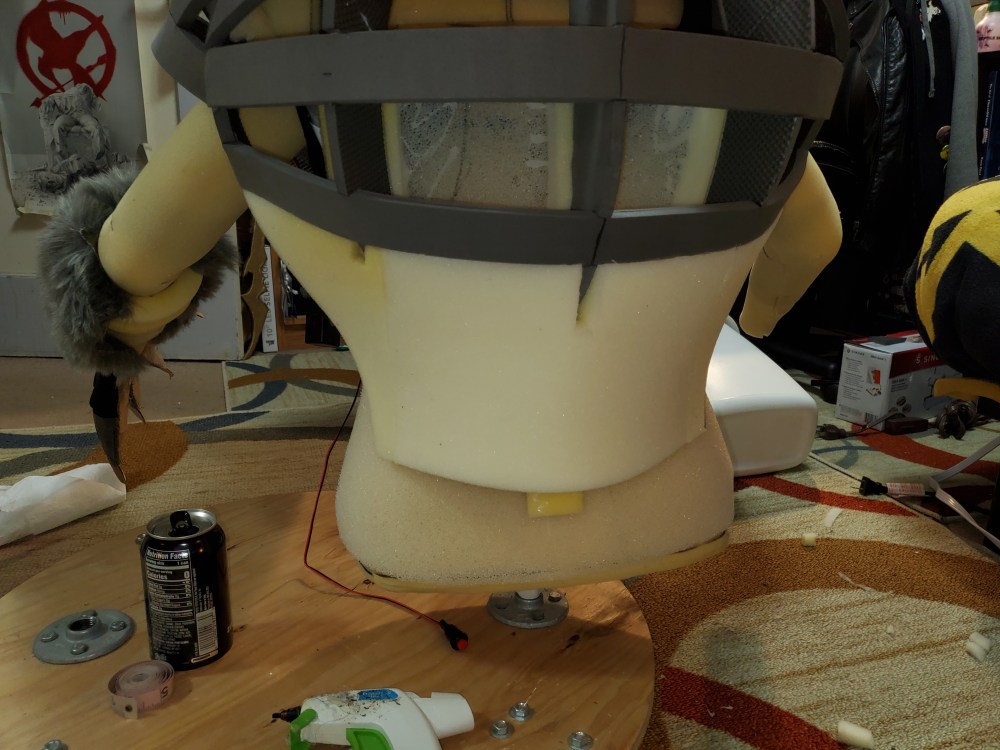
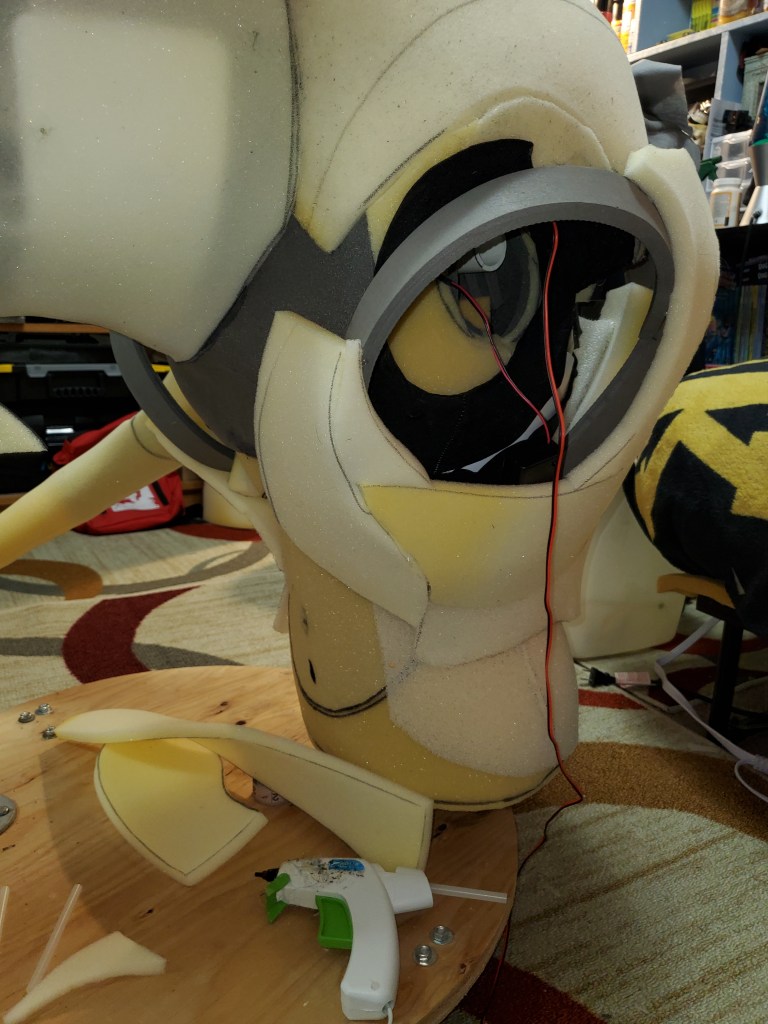
I knew the vest would be the biggest undertaking other than the head. I mean, the thing is huge. Initially I thought of having it be solid foam, and placing cooling packs in it, but as I thought about it more, I came up with a different idea. I ended up making significantly less pockets for cooling packs because I’m not sure they’ll be entirely necessary anymore. I ended up using more reticulated foam and a hollow cage for the vest structure. Here’s some progression photos of building out the vest:


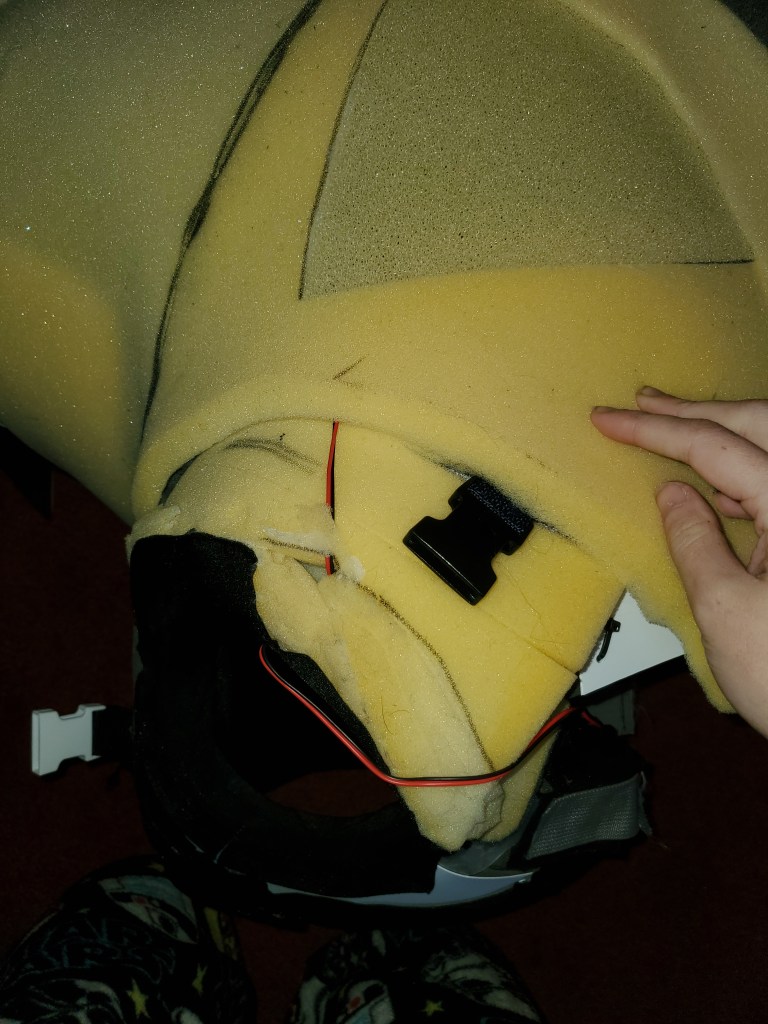
The last three pics are of parachute clips added to the chest of the head and the other side in front of the shoulders to connect to it. This keeps the vest together in front.
I had to work on the vest with the head on the mannequin, and discovered later it would actually work better if I cut down the shoulders down on the head and made a channel for the vest to sit down into, so I did that and added a parachute clip to each side to help hold the vest on (especially after I add the puffy things on his shoulders which will weigh the shoulders down a bit), where the other end of the parachute clip is inside the vest.
Once I had the base done, I went ahead and made a liner for it out of spandex (which I don’t have WIPs of), making sure not to glue the edges since I haven’t added the fur yet and I want to sew it in.
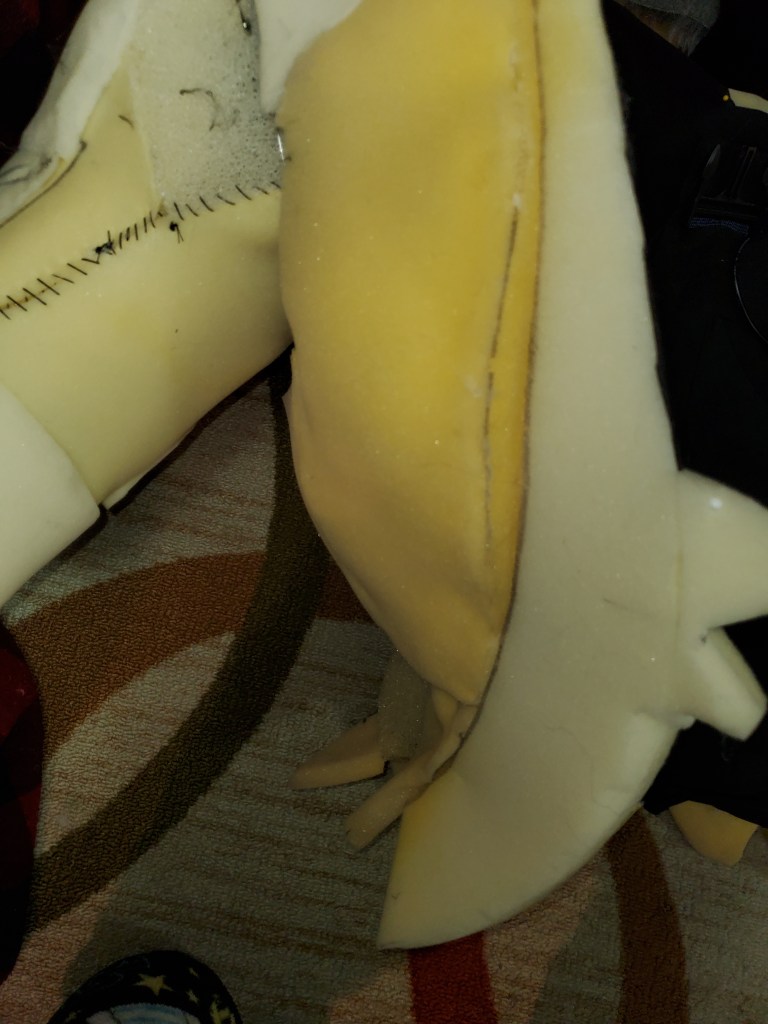
But anyway, back to the vest. Now I started constructing the puffy spiky things on his shoulder. The interior is EVA foam for a sturdy structure, with ribbing to keep them rounded instead of just using Poly-Fil, and then there’s a layer of thin foam over them. The spikes are plain foam carved into shape.


These things are where I wired up and placed the two speakers, with reticulated foam in front of them to unobstruct sound, but I do have a major change I will discuss coming up regarding that.
At this point, I started constructing the upper arms, which I also for some reason don’t have WIPs of even though I swear I remember taking them. They may have been on my old phone and didn’t transfer over…But anyway, I have the buildup of the upper arms and the muscle I used to help build it out, and I can at least mention the layering I did. The first layer was reticulated foam, to help with sweat and cooling. Over that I placed a layer of 1/2″ normal foam, and a piece of 1/4″ foam near the elbow (where I also folded the liner over), and then began constructing muscles over that to help build out his shoulders and make him wider. Note: The majority of the foam is on the outside of my arm only, for the sake of movement and comfort. This makes him appear wider without compromising too much movability or making it so I can’t put my arms down.


After I constructed the arms, they made the vest sit differently on the mannequin and the front no longer fit together very well, so I’m going to have to add more to the front of the vest to get it to look right again. This is actually good though, because it helps make him look even wider, and gives better proportions for the best, more accurate to the original design.
I attached the shoulder spikes to the shoulders by first gluing them on, then placing a Styrene brace attached to the shoulder EVA and running out to the end of the spikes to keep them from sagging down.
From here, I noticed that I could actually bring the area under the arms out a little more than just the foam did, so I added some Poly-Fil to that area to help make him even wider and, again, make the proportions a little more accurate.
You can also see that at this stage I started adding a little more to the front of the vest to help bring it out more and to have it nearly touching in front which is what it’s supposed to do.
From here, I’m going to direct you to a video I’ve done going over a few other major aspects of this build, including the electronics, and some other changes I’ve made, especially ones straying from my original plans. Enjoy!
The end cut off a bit thanks to my accidentally pressing stop on my phone but hopefully that video was helpful!
All in all, here’s a video of all the current pieces working together, ready to be furred!
Next post will be about me patterning each piece in preparation for furring, as well as working on the pants, stay tuned!
